
How to paint THAT board game box
(A quick secret, these tips will probably help when painting up an army starter set as well…)
We have all been there, we have been super excited about, whatever the game is. Almost certainly it is made by CMON (Cool Mini or Not). However, you have had the dreaded realization. There are way too many minis in here. So what do you do?
IF…
If I was to go off about what most people do. The answer is… Give up, leave them unpainted. But this is coming from someone trying to shill a service. Sometimes it’s okay and even better to leave them unpainted. However! You are compelled by nature, god, the dark forces of creation and destruction, or worst of all a nasty Reddit comment. You have decided to paint… This.
Okay, you haven’t but I have. Or you decided on a different box with a lot of miniatures.
And I may or may not have gone a little too intense on the details, for this board game and for this article but I hope you get something out of it.
First things first make a plan
Going in all headstrong without a plan is probably not the best idea in the world… The problem is that enthusiasm will get you so far but planning and discipline will get you the rest of the way. How much time do you have?
Be HONEST with yourself.
Be honest, how much time do you really have, DO YOU NEED TO DO THIS? What will push your desire over the edge and make you finish this project? These are questions you have to ask yourself before you start your big project.
Okay so you were honest and you have X amount of time. The job is just too big, First no it’s not, second, you made a decision, believe in yourself.
Break it down
Desmond Tutu “there is only one way to eat an elephant: a bite at a time.”
Here is the thing, it looks impossible if you look at your board game miniature set like this…

Sorry mobile users for the eternal scrolling.
Of course, if you look at it like that… your not going to be able to finish this project it’s impossible just look at it. There is so much there and that’s just the main game not the expansions or the Kickstarter exclusives you got and this game has WAY fewer minis than your game.
No… Don’t do any of that doom spiralling. Instead, break it down into easy categories. Your not painting up all of Ahnk your painting up… This

Oh, it’s just six guys? You can paint up six guys. Anyone can you can certainly paint up six guys. That is all it is six guys and then another six guys, or a big guy and then another big guy. Breaking down your task into easier tasks will do you a world of wonders.
Reward yourself.
Okay, so this is pretty simple but reward yourself for your hard work, that’s what your brain wants, give it, what, it wants. What is your reward? Just be honest with yourself like before. You know what you want, it could be sharing your stuff with other people (that’s my ‘vice’). Maybe it’s having a snack? Whatever it is… do it. Give yourself that reward when you complete a task. You finished six guys, do a stretch, have a walk down the road and back enjoy the sunshine or whatever YOUR thing is.
Okay, this is where I get to more hard advice.
Painting
Here is the TL;DR
Zenithal Prime your models.
Apply the majority colour.
Introduce a flourish
Block with contrasts.
Stop and consider your progress
‘Cheat’ by highlighting feature areas and ignoring the rest.
Final detail work.
There is a bit more to each of these steps but I will break it down step by step.
1) Zenithal Priming
Okay so first off, get an airbrush, because honestly even if you just use it for priming your miniatures it will make your life easier. I don’t care if that’s the only thing you use it for, it will make things so much easier. Also why? It’s needed for the next steps.
Zenithal priming can be done with an airbrush, drybrushing or rattle/spray cans. Three simple steps.
Spray model all black
At 45-degree angle spray grey
At 75-degree angle spray white

You can do these steps with a drybrush by just using a standard dry brush for step two and a make-up brush for step three.
Okay here is where tips begin.
Make friends with this guy, and his grey and white cousins or get spray cans. Why? Because when you're tackling a big project you know what will become a major factor you haven’t thought of?
Drying time
That’s right, drying time, you didn’t even think of it when you’re painting… I did. Because I have been here before, this isn’t my first rodeo. This is why you should use these alcohol-based primers or spray cans. AND You should spray the models all together because there is nothing worse than getting to the next piece and having to start from scratch again. Zenithal them all.
2) Your major colour.

Okay, I am open to the possibility of this just being a pet peeve of mine and I can be 100% wrong but here is the thing if you don’t leave that possibility open you will find yourself in deep, without a paddle and up the road.
BUT
HOW THE HECK DO WE KNOW HE IS A SERVANT OF HER?!
In the Ankh box as you saw previously, these follower miniatures come in a turquoise colour and so does the goddess Isis (I am on a watch list now). You are painting game pieces (if you painting up a board game please ignore if you are not).
Both of these models are in a turquoise colour, so your major colour should be that of the model’s base plastic colour.

You are painting models for a board game, people need to be able to understand the purpose behind a game piece almost instantly.

It is literally the same as doing the Zenithal Prime but instead you use your base as the first colour, your mid-tone as the second and your highlight as your third.
This article should help if you have some confusion.
3) Introduce a flourish
Aside from witty wordplay what is a flourish? Well, I am going to use an analogy for it instead.
A jeweller’s foil or foilback is the practice of putting foil behind a gem in order to make the stone seem more precious. This is the same origin for the word foil used in TV shows and movies, in that case, a villain to make the hero seem brighter.
Before we said we would be honest with ourselves and painting up all of these models to character level standard? Well, that’s not going to be possible in the amount of time you have (I really should listen to my own advice). So how do you mask some of these cheats you’re using?
A foilback or a flourish if you will. Everyone is good at something even when it comes to miniature painting and your ‘no good at it’. It can be a special effect paint such as green stuff worlds colour shifting paint or SMS ‘Colour Shift Chameleons’, it could be a rust effect, or it could be non-metallic metals. In my case, it’s True Metalic Metals, which is just non-metallic metal with metal paints.

4) Speed Blocking
Instant colour, speed paints, contrast paint, whatever heavy wash or ink or thinned paint it’s called. They all do very similar jobs. Block out your model (blocking the process of painting a section of your model in a single colour that relates to that area) except don’t use a base, use a contrast paint instead. Some contrasts are quite weak some are quite strong, and different colours underneath these contrast paints will have very different effects. So as by a happy accident. Those followers of Isis were meant to be Nubian, having a blue undertone with Wyldwood contrast really helped seel that dark African skin tone quite well.
Just remember that contrast paint isn’t a substitute for all paint it might be an idea to do more than just contrast which leads us to…

5) Consider
You must look at your paint job and decide does it need to be touched up? Do you need to highlight beyond what you have already done?
Here is a big problem, we often won’t let ourselves have a breath, we will run full tilt at a problem and not realise we are bashing our head against a wall. Here once you are done with the contrast step you will see what is working and what isn’t. At some points in time, you will be done here and you won’t need to do more if you have been careful and considerate about what you have done with the model.
6) Cheating
A quick highlight to your contrast painted area will make it pop, paint an area with no visual interest a single coat (for example back of the shield) and be done with it. Anything that is ‘broke’ fix it now.
Cheat by actually ‘properly’ painting up one or two things and people will think you put hours of work into everything it will make your mini pop that much more by simply following what you learned from the previous step.
7) Detailing.
A collar, a scarab, some dangly parts and a bit here or there. Do actual painting work on some small details and it makes it harder to see where the ‘sloppy’ contrast job end and where the ‘real’ painting begins. A little work can go a long way in the right area.
Now you should be done!

Basing
The base will help complete your story, it sells your paint job and puts it into the setting of the world you are proving. HOWEVER! You are making game pieces as such your not looking to spend hours gluing on the sand and then basing the sand a desert colour then painting it to a sand colour no. Your goal is to get these things done quick, as such here is your new best friend.
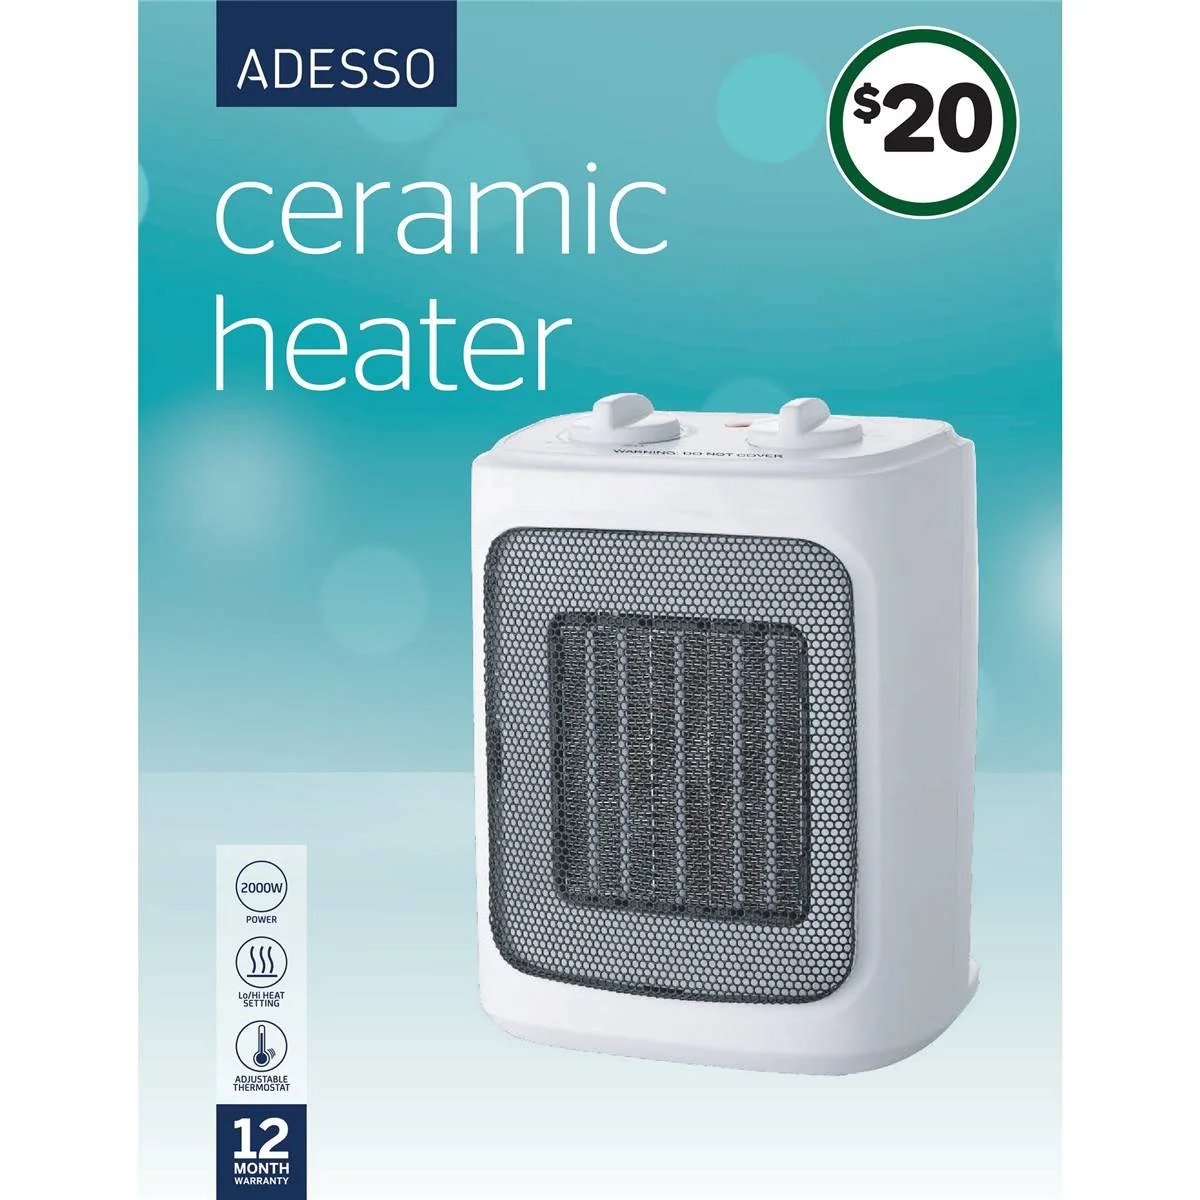
A heater with the miniatures a safe distance away will allow you to get your models base quickly because unfortunately there is a few steps to basing.
First coat and clean up
Add detail
Second coat
Seal
1) First Coat
The miniature must be completely painted at this stage you will not be applying any more paint to your model at this stage.
The most important thing is this. Get material that will be your end product. DO NOT get texture paint, crackle paint or any other paint! This is for sand, flock, or whatever your end base will be from the start.
Geek Gaming Scenic has some things call Base Ready Range which is perfect for this.
There are premade bases out there and when I say premade I mean completely painted, if you just want to cut your model off and transplant it. Go for it.
STOP don’t apply anything yet.

This is nasty stuff. However, it will help you a lot. I have mine in a glass bottle which used to be a V bottle makes it easier for me. But what you will need is some of this and quite a few cotton buds, que tips whatever you may call them.
Fill a cap of this. Keep it far separate from the model dip both ends of the bud into this rub in a continuous back and forth motion until all paint on the side of the base is removed. Be quick and precise about this because.
You are melting the plastic
However, this will bring back the model’s original plastic and it will clean up anything you have sprayed over it. This if you are playing a board game is exceptionally important. Because people will be able to see what model’s purpose with greater clarity.
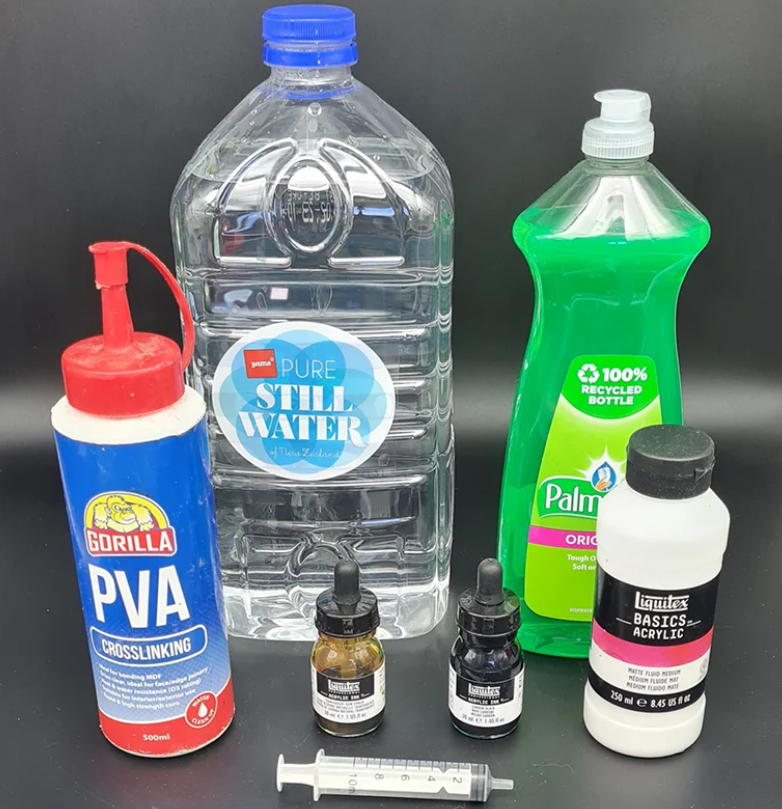
The first part is a lot more complicated than any of the other steps… So you want to have this on hand. Mix 50/50 PVA and water, add a couple of drops of dish soap, I actually use morning fresh but I searched the internet for this image so beggars can’t be choosers.
Put this in a bottle and label it sealer.
Have a paint mixing area for your PVA, I just use an old paint pallet. You could use literally anything, back of an ice cream lid. But you need there to be three areas. Sealer, Straight PVA and your final product. Mix your PVA and your sealer until you get something constancy of thin cream.
Apply this mixture to the base. Add basing materials.
Put in front of dryer… Far enough away that you don’t melt your model.
2) Add Detail
Simple version.
Glue your detail down.
Put it in front of the heater.
It doesn’t matter what your detail is and sometimes you can skip this step, but as an example what I did here was I added tufts to the models. But it can be anything some 3D piece you printed or the classic, rock.
STOP
Don’t just place it on. Use that same PVA/Sealer mixture to glue it on. These are game pieces they will want to break free.
God knows, they want to break free.
Glue your detail down.
Put it in front of the heater.
3) Second coat
Add another coat of the PVA/Sealer mixture
Apply another coat of basing material
Why are you applying ‘two thin coats’

Jesus Duncan, even Bloody Mary has the courteousy to wait until you ask for three times. However, he’s not wrong, a thick coat of PVA here could be a disaster remember for most miniatures in board games they are built into the base. If you apply a thick material it will look off because their feet are sinking into your basing material.
4) Seal
Okay enough memes. No just literally get your sealer you made before dab it on so it just soaks through the layers of your basing material and then just put it in front of the heater.
This will prevent your basing material from falling off
Your done!
Conclusion
Like almost everything, I say on here. Your goals are pretty simple. Your first part is to just stop think and breathe.
Make a plan. Break it into easy steps and REWARD YOURSELF. Execute the plan, but remember the details. Those details are what will save you having pain later.
Painting. Just follow the steps but remember step five, which can be summed up into just stop think and breathe. Because you need to know you can get overwhelmed, remember those rewards and take breaks if you need.
Basing. It’s all pretty simple very much what you expect but just be careful. Essentially every step in this so you go through things quicker but also they have a slight risk to them if you are thoughtless.
So… just stop think and breathe and remember…
You can do this, it’s not as big as you think, you got it
But if you don’t there is always this guy. He paints board game sets at $10 a model as a base. Giving quick tabletop to most but painting your characters to character level.
But…
You can do this, it’s not as big as you think, you got it
Don’t sweat things, you have a plan, you can do it.