
Basics of Basing
verisimilitude
/ˌvɛrɪsɪˈmɪlɪtjuːd/
noun
the appearance of being true or real.
"the detail gives the novel some verisimilitude"
Also known as very simulation, dude. The feeling of reality, ever heard the term life is stranger than fiction. I know we are all here to escape reality but seriously, if I wrote about the events of 2015 to 2022 in 2010, people would not have believed me, would they? Would you?
What does that have to do with basing? The appearance of reality is more important than the actual reality. Let me give you an example.

I am going to guess… we need snow flock for this one.
The forbidden ice-cream, it never melts but the taste isn’t quite right
What do you do to emulate this area?
Slap down some snow flock and you're done with it right? It’s no longer snowing, so it’s just plain flat snow, right? right?!
The answer is no.
You already knew that, but why? I mean honestly if you wanted to match the picture that’s the obvious choice. However, when we scale these things down we aren’t seeing a whole field of white, then a lone tree and barn, we are seeing one base. That is why verisimilitude is important. So what would I do in such a situation?
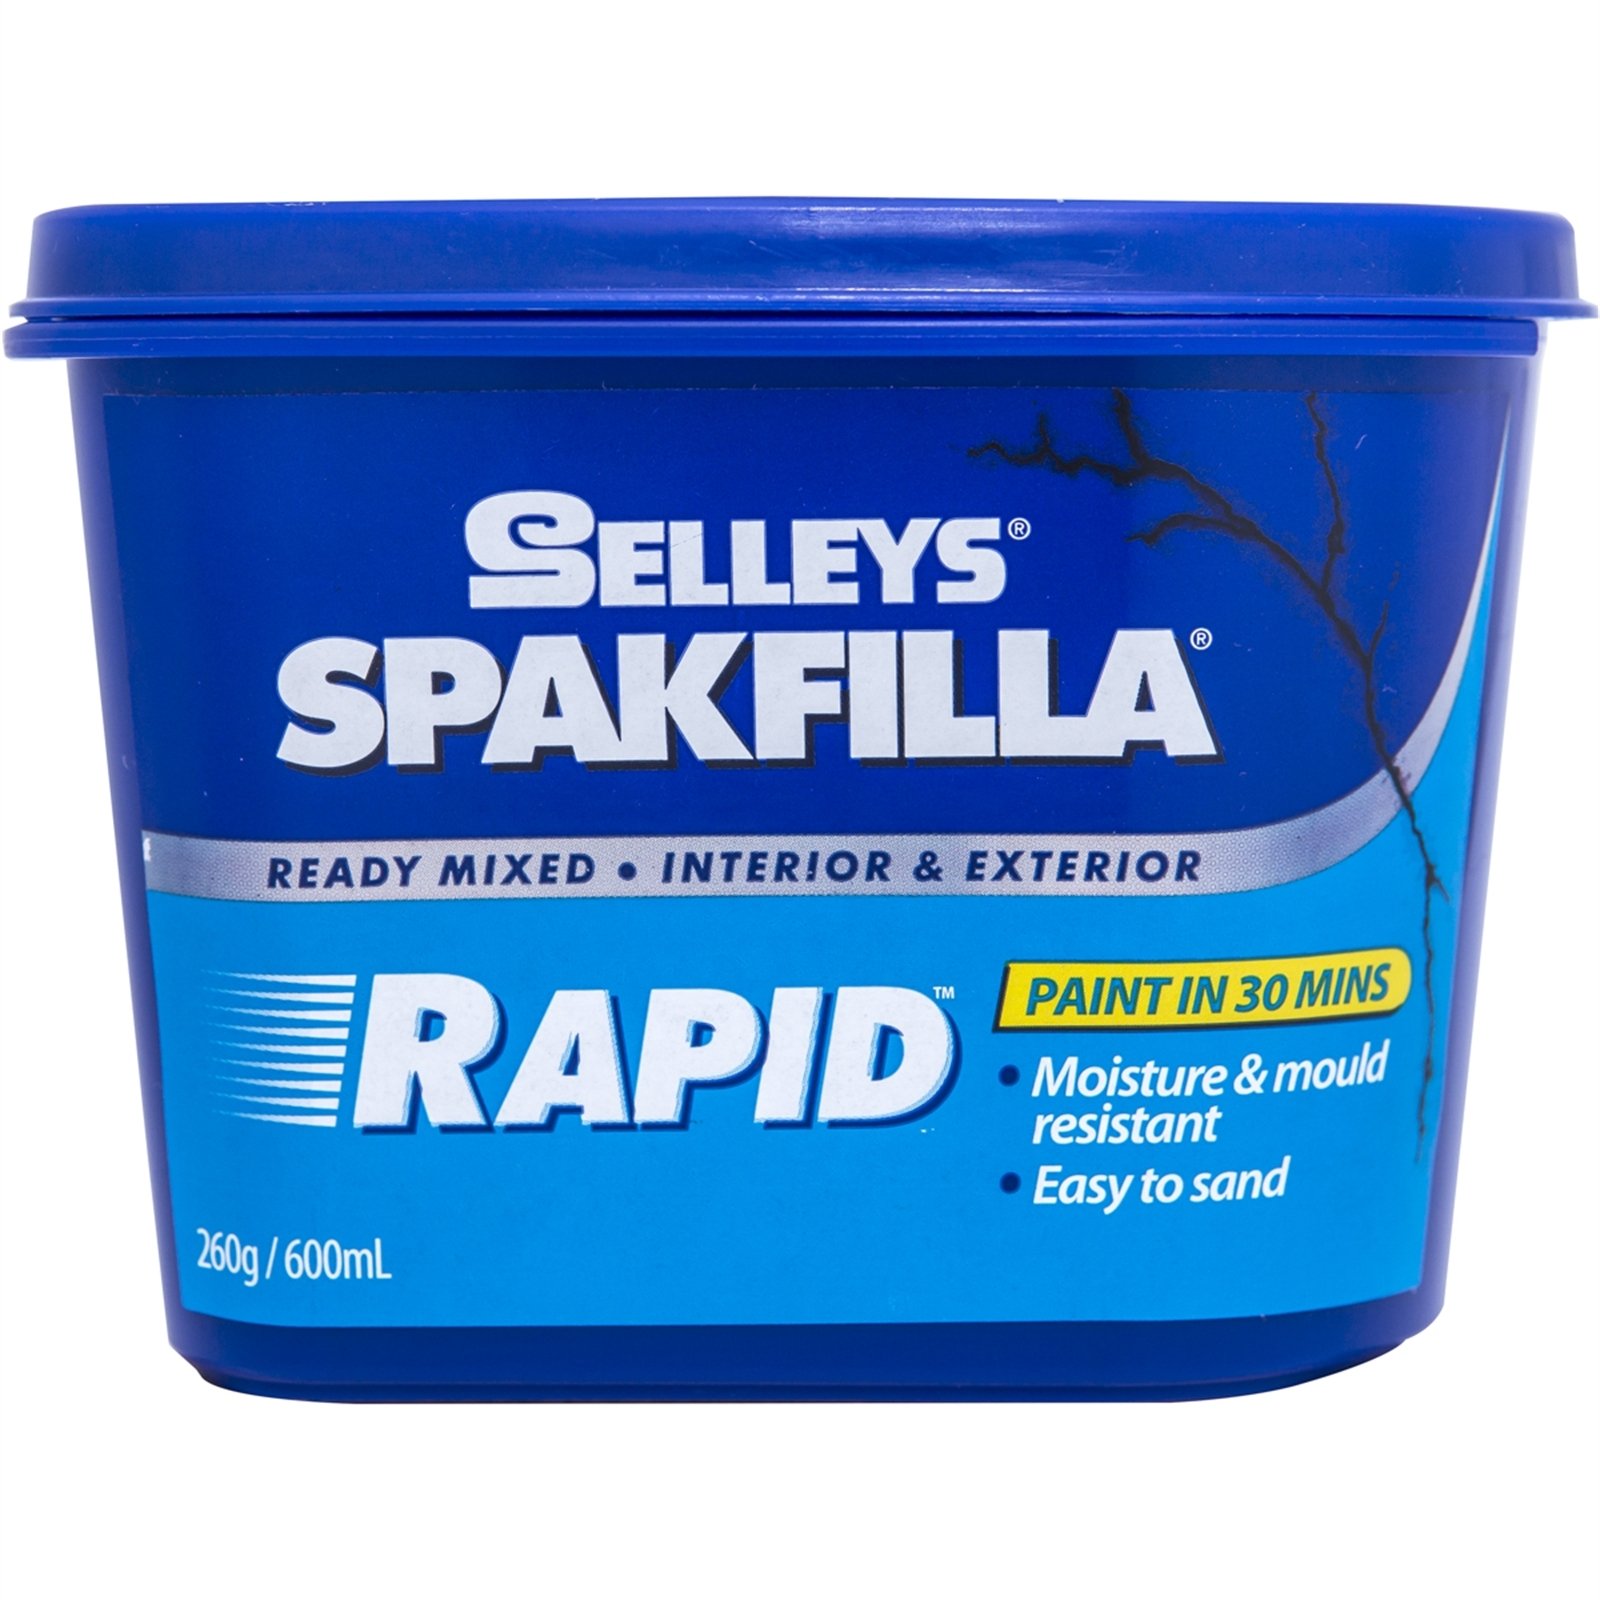
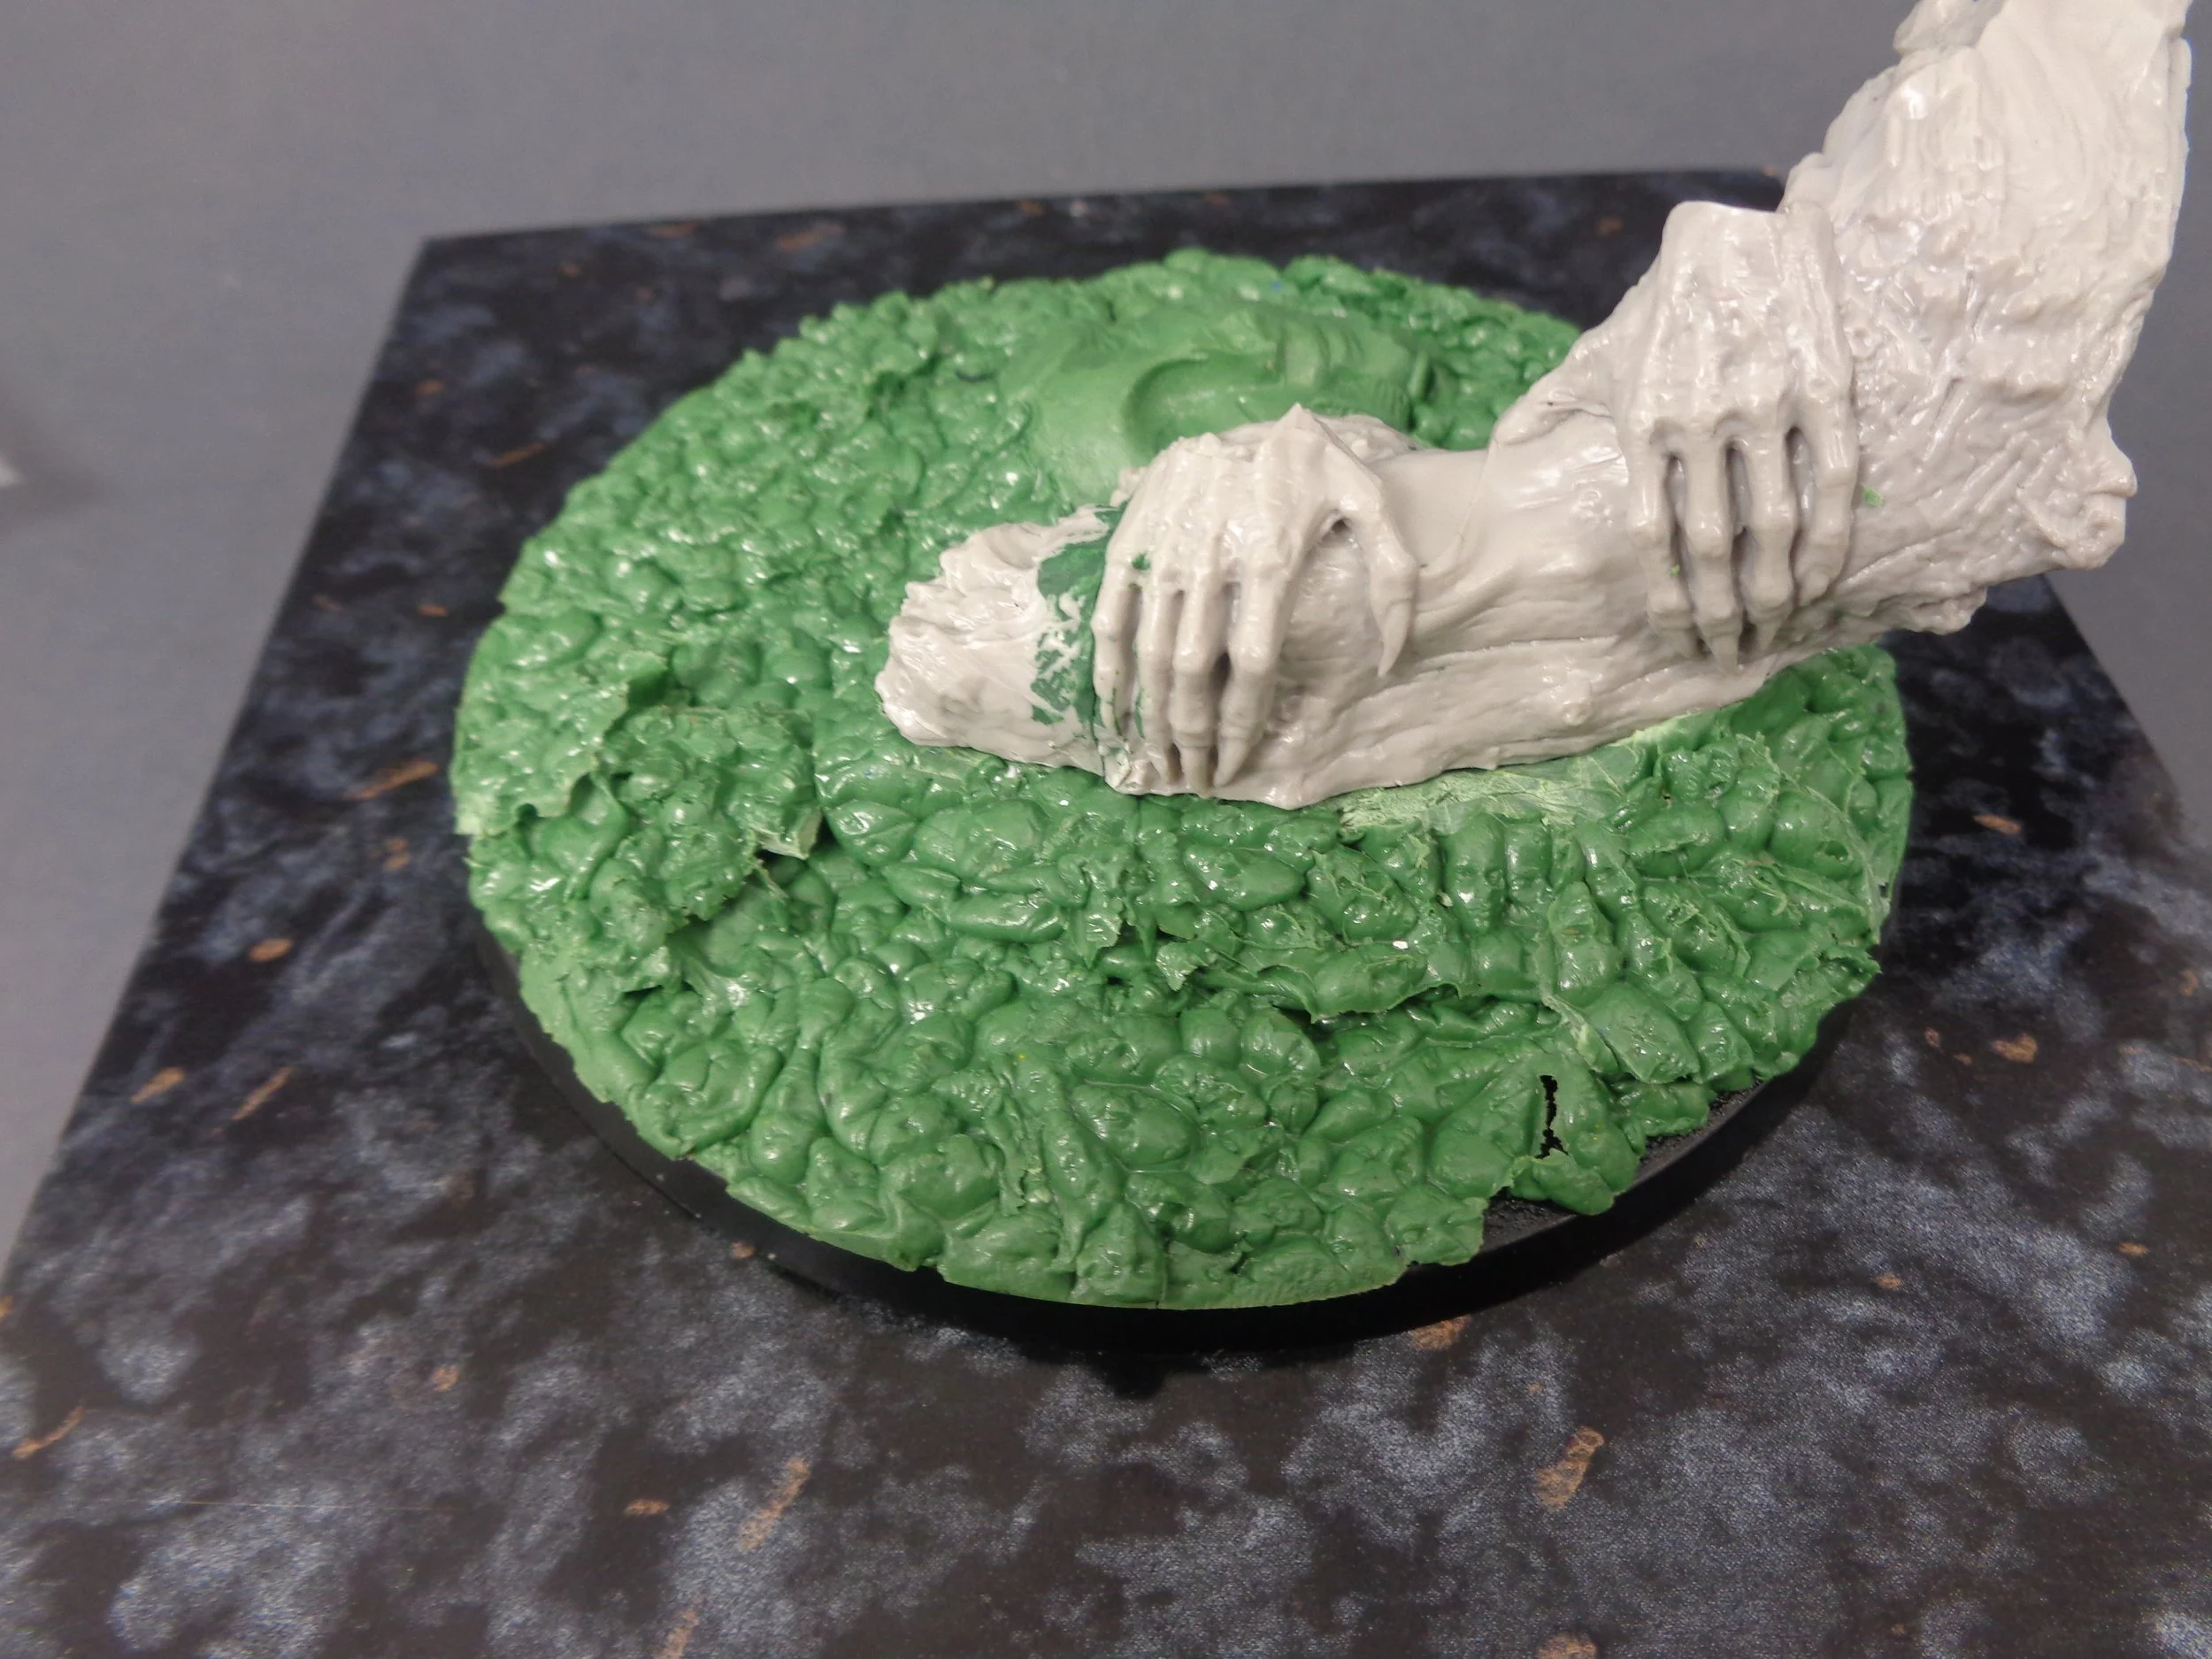
This is one of my secret weapons. Gap filler, sometimes called spackle or other names but one small tub of this and your set. It’s a quick and easy way to give depth to a base without doing a whole lot of work. So given the example above. Here is what I would do.
I would get a finger worth of fill put it on the base distribute it evenly. Leave it for 15 minutes or so. Then I would get the model I was going to put on the base and ‘walk’ him to where I wanted him to be, to leave some indents in the filler. Wait for it to dry and then put whatever snow basing stuff I had on there.
I am just using snow as a quick example of how trying to replicate reality actually loses the feeling of reality or verisimilitude.
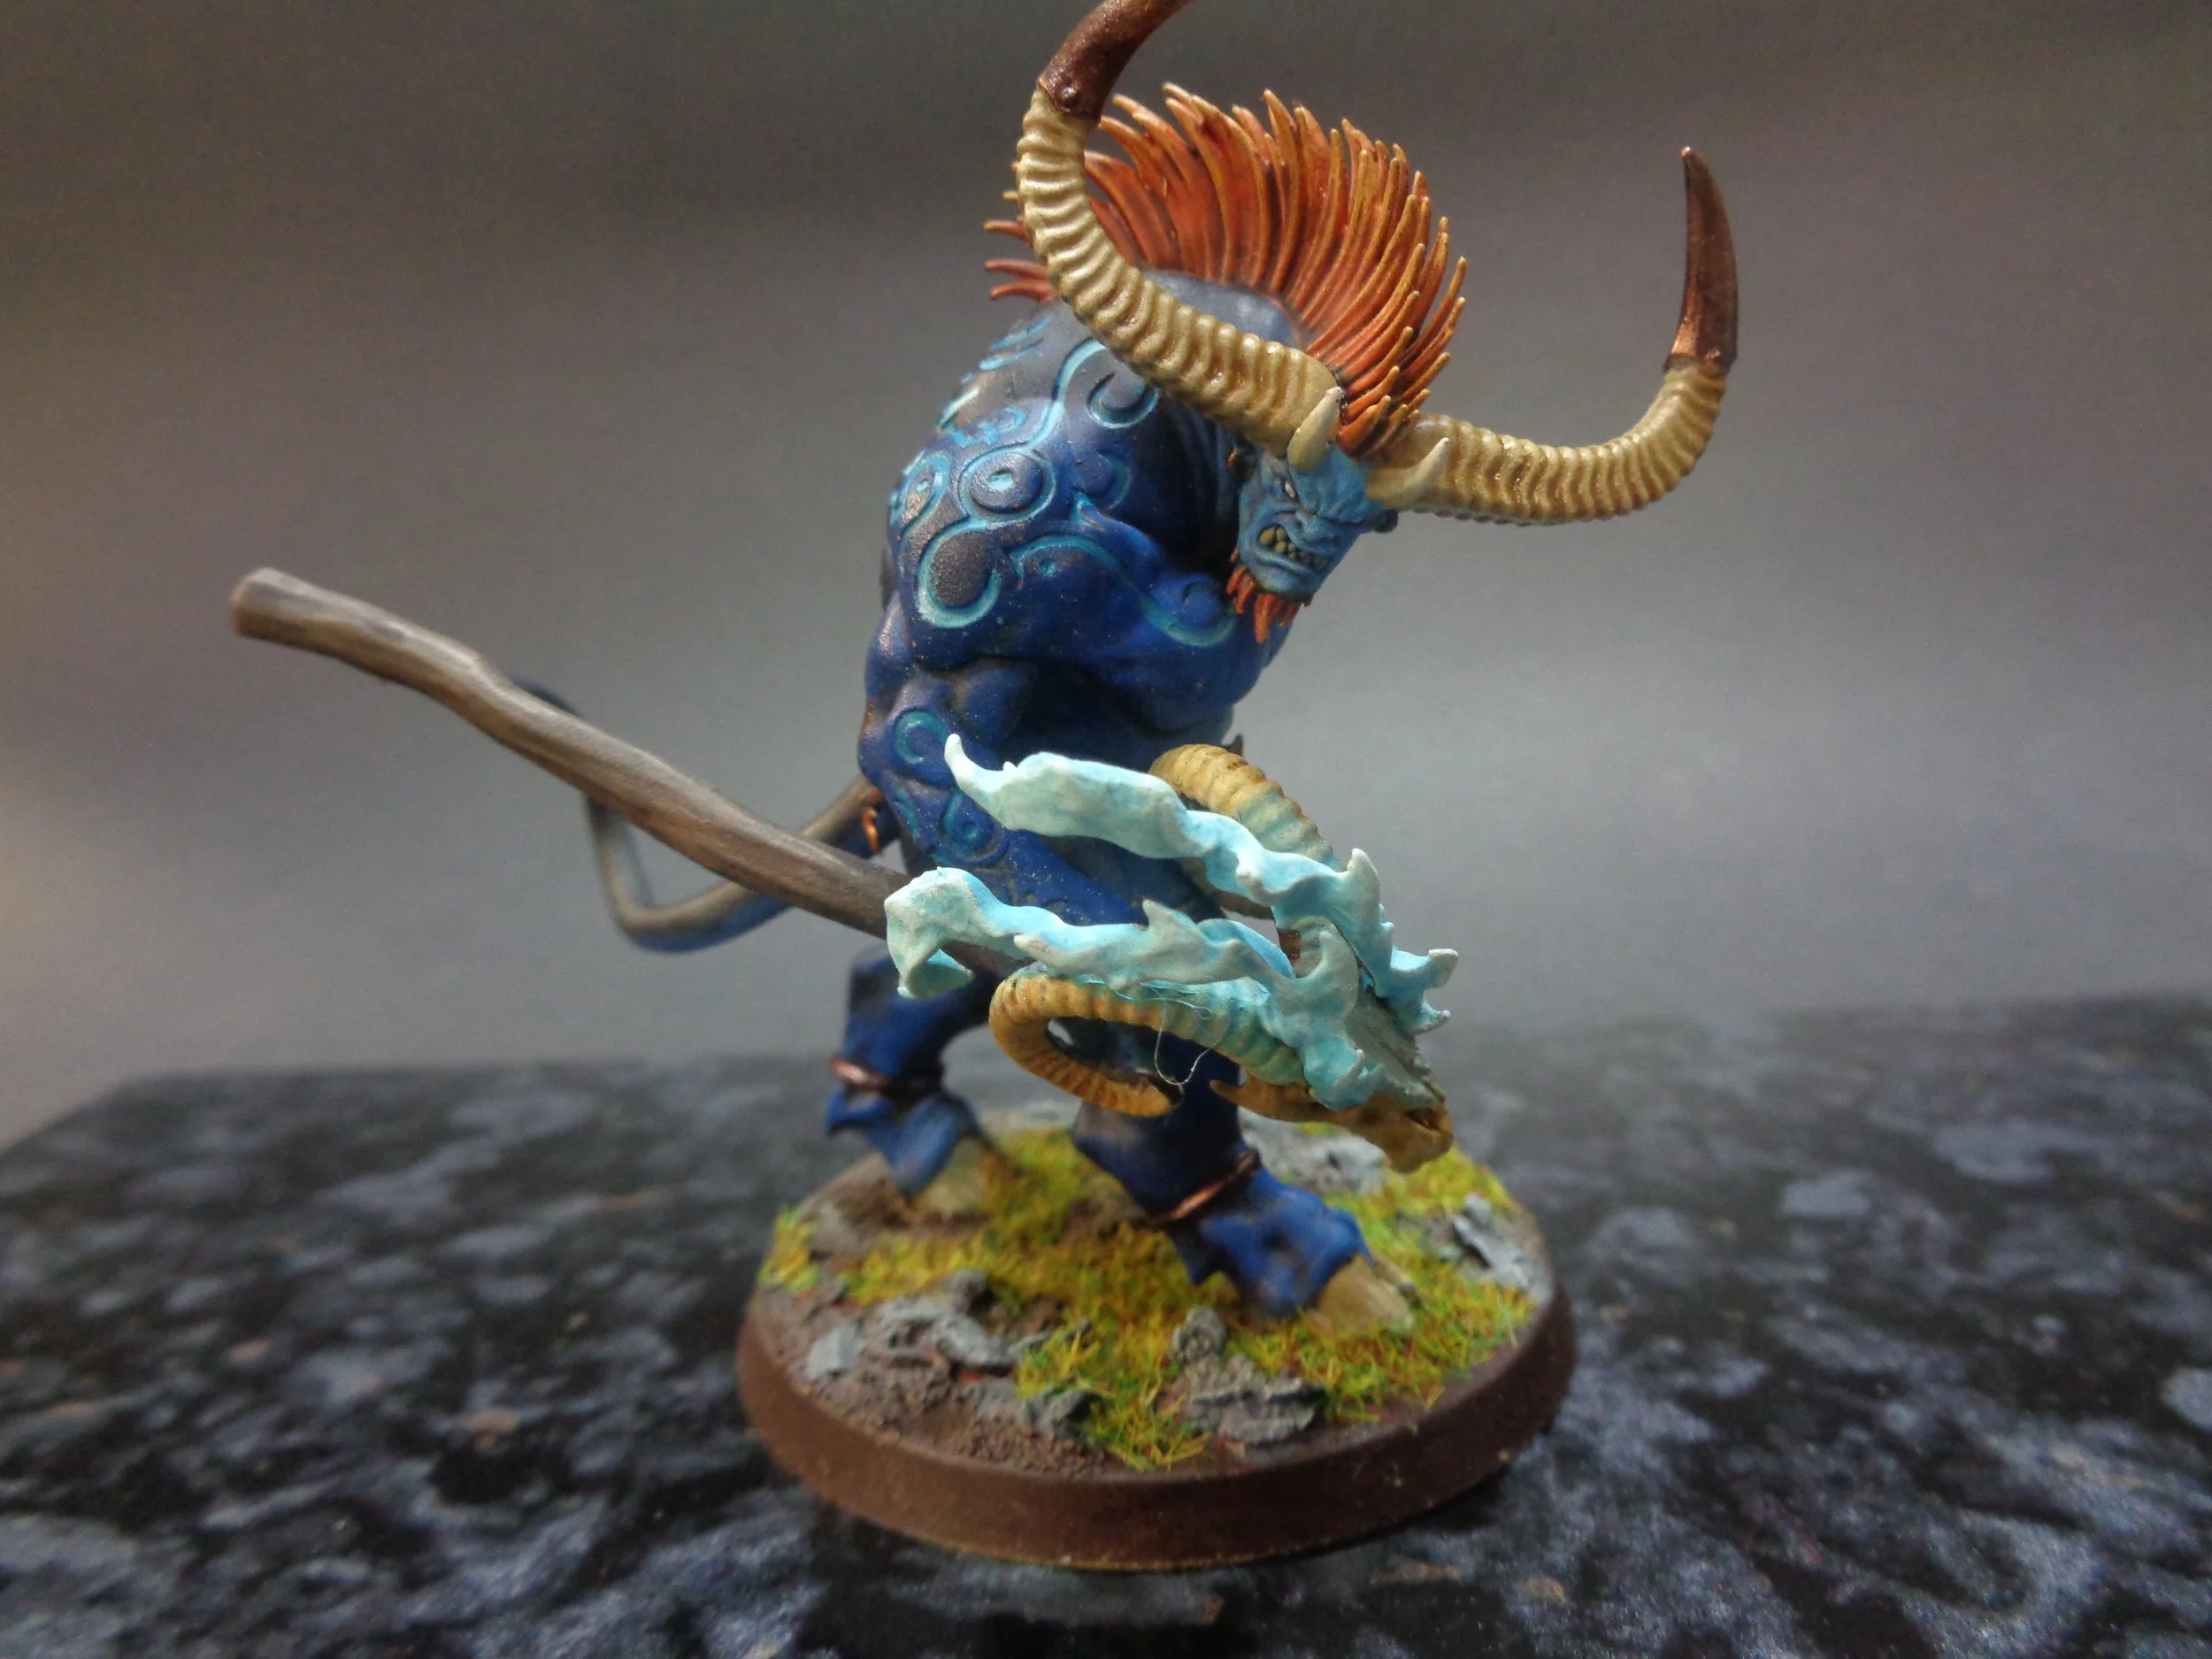
Here are some other examples.


All three of these have the same problem as snow but I am trying to help you get to the basics of basing. How would you fix each of these problems because the thing is that just like the above problem with the snow, you have to think how can I make this feel more real? Not look exactly like how it is. In short, the most important skill is visualisation and theorising, not ‘actual’ skills in basing.
But we should probably get to some actual things to do with basing. Just like with painting the rule of three should be in effect with basing. There should be at least three elements to your basing.
Here is a mini I did for a store, its basing is quick and dirty but it has three elements. What I like to call my English Highland scheme. All it is, is some sand with some rocks thrown in all PVA’ed to the base at the same time. The sand is painted an earth colour and then drybrushed and the rocks are picked out and dry brushed. Then some areas but not the whole base is picked out with the flock.
But speaking of flocking I should introduce you to the tools of the trade.

Sand! Sand is great for adding texture to your miniatures and it basically comes in two varieties. The stuff you grab from outside and the stuff you get from a specialized packet made for miniature basing. Which is better… Well, common sense should be the answer however I will do a quick breakdown of it. The specific sized sand is generally very bad. This example I am using is from Luke’s Geek Gaming Scenics range. It is actually just meant to be put on the base and you're ready to go but as you can see it has a great variety of sizes, which is good. HOWEVER! It’s what you use it for. For example, single-sized miniature specific sand can be good in certain instances say for example you want to have a gravel path on your bases like in a Chinese garden, that specific sized sand would be very good for representing that.

Rocks! For rocks… Or more often than not pebbles are used for rocks. Slate rock has a good appearance of looking like an appropriately scaled rock. just remember that some rock won’t look right at that scale just use your best judgement. Another product used here for rocks is that of cork, there are lots of types of cork that looks great at the miniature scale what I am using here is cork tile, which after you buy one lot you should have enough forever for your miniatures. Remember once you tear it to get that effect keep the leftovers for other rocks later.


Modelling clay, plaster of Paris and moulds. Be they the professional moulds of Woodland Scenic or homemade ones made by you. You can make moulds by doing impressions with blue stuff. Moulds will help you set the scene of what you want when you don’t have the sculpting skill to quite get what you want. You can use just about any chemical clay you want, Greenstuff is very popular but if you look up brown stuff or grey stuff there are lots of chemical clays you can use for the same purpose.
(Greenstuff is a brand so Blue/Yellow is exactly the same).


Flocks. Flock is a catch-all term for stuff you put on the base but it usually refers to ‘organic matter’ for basing grasses, mosses, and so on. There are quite a few different forms of flock but usually, people will be referring to static grass, coloured foam flock or coloured sawdust flock. Why is static grass included in the two other ones specifically called flock? I don’t know, I don’t make the rules I am just explaining. Static grass is as you may have guessed able to take a static charge, this is why static grass will always explain its length to you because it can be activated with a static grass applicator. Usually, something to do with magnets.

This is essentially what tufts are, a statically charged and glued in place bit of grass. Once again think about how each of these things look. Static grass is great for fields and pastures. But when it comes to the neatly trimmed fields which you are trying to emulate for Blood Bowl not so good.
There are not just these flocks but also uncommon flocks such as tea for leaf litter or jungle basing its a catch-all term so you will see it used in many different ways. However, if you ask for a flock for your base, the shopkeeper you're dealing with will usually be able to help you… Google is still catching up. Unsurprisingly I am going to say support your friendly local game store.
So I was going to go over a whole lot of different niche things but this is the basics so there is one final element to talk about!

Premade bases. Technically I made these myself because I drilled them out from existing terrain. I had to make these bases for the correct size for an ‘armies on parade’ project but I hope you get the idea.
Anyone who gives you a hard time for using premade bases, they’re a tool. And not a very useful one, like perhaps a stud finder, very specific and easily forgotten. Sometimes it would be impossible to get the same level of detail yourself as compared to a factory machine. However, you can still add to what you have.

Using a predone base you can add elements to it before and after to give different styles to a base. Paint that ‘lava’ area up blueish green/greenish blue and then add some static grass clinging to the sides of those areas you have a nice swamp base with the stuff being slowly consumed. Paint the tiles different you have a different type of building. Put sand over the top leaving only some of it and have grass on that dirt that you have painted and you have a ruin slowly being consumed by time.
Its about the feeling of reality not reality itself.
I hope that this has been helpful for you if your new to basing or even if it gives you a fresh perspective… Til next time.
Keep those brushes wet.